> For the complete documentation index, see [llms.txt](https://help.accentuate.io/llms.txt). Markdown versions of documentation pages are available by appending `.md` to page URLs; this page is available as [Markdown](https://help.accentuate.io/metaobjects/displaying-metaobjects-on-your-storefront.md).
# Displaying Metaobjects on your storefront
This guide assumes you know what are Metaobjects and how to create them. If you need to learn these things, please first refer to our guides on what Metaobjects are and when they should be used, how to add definitions, and how to add values to your Metaobjects.\
See also: [Shopify’s documentation on this](https://help.shopify.com/en/manual/custom-data/metaobjects/connecting-to-your-online-store)
Metaobjects are a great and powerful tool that you can use to organise your data in order to improve your store and customer’s shopping experience. While Metaobjects can be an entirely internal tool they can very effectively be used to display data on your storefront. There are two main ways of doing so: using liquid and using page templates.
## Displaying Metaobjects using liquid code
Accentuate generates liquid code for all of your field definitions so if you are just looking to quickly display something you can just copy the code we generate.
If you are looking to better understand the logic, here is a simple explanation:
Accessing your Metaobjects using liquid is pretty straightforward. The data you input will be stored on your shop’s Metaobjects object. To access the data you will need to know its definition’s **type**, the **handle** of the instance you want to use, and the **key** of the field whose data you want. Generally, the path looks like this:
```
{{ shop.metaobjects.definition_type.instance_handle.field_key }}
```
[Shopify’s official documentation](https://shopify.dev/docs/api/liquid/objects/metaobject) on the Metaobject liquid object.
***
## Displaying Metaobjects using the theme editor (with references)
If your theme supports dynamic sources then connecting up a Metaobject to your theme will be a breeze. You will need to:
1. Create a reference to the Metaobject you want to use
2. Add a value to the reference
3. Connect a block on your storefront to the Metaobject you are referencing.
#### Creating a reference
The first step is to create a Metaobject reference on the scope you want to use. You can use Metaobject or mixed reference field types that can hold a single or a list of values. That gives you four options of Metafield types to choose from depending on your needs.
If you need more information on how to create a Metaobject reference field you can refer to [our documentation](https://help.accentuate.io/introduction/getting-started-with-acf).
#### Adding a value
This step consists of choosing what Metaobject instance you want to reference in your Metafield. It is a very simple but required step.
#### Displaying the Metaobject on your storefront
The final step of this process is to connect the reference to a block in your editor.
If you have not already done so, you need to create a theme block that supports dynamic sources. Then you simply click the database icon in the top right, find the Metaobject reference, and select the field you want to use in that block.
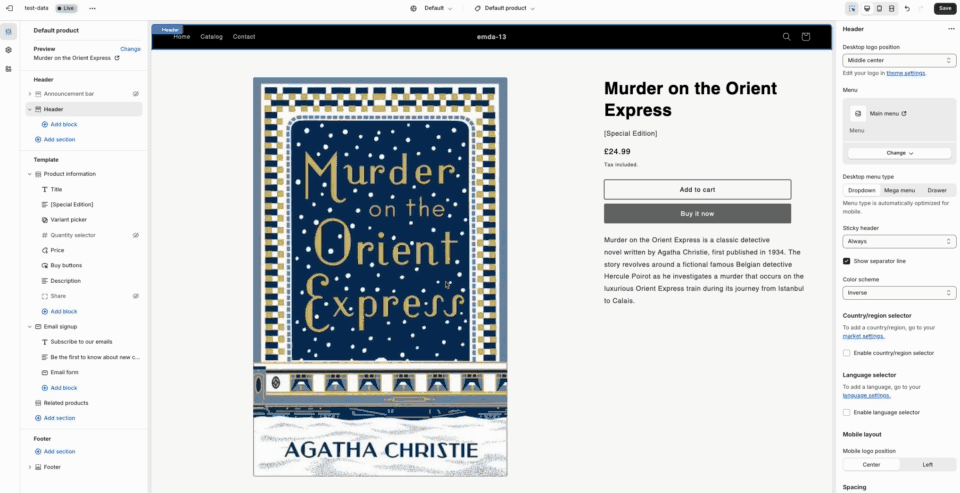
You can see the entire process below:
[Shopify help page](https://help.shopify.com/en/manual/custom-data/metaobjects/connecting-to-your-online-store) on displaying Metaobjects.
***
## Using Metaobject templates
The final way to display Metaobjects on your store is to create Theme templates that fit perfectly to your Metaobject data. You should do this when the data in your Metaobject is enough to fill an entire page. This way you have a template that will create an entire webpage just from you inputting the data. This is great for displaying Designer or Author profiles or any data object that contains enough data for a page.
To do this make sure the Metaobject you have set up has “Publish entries as web pages” enabled.
Next, you will need to create a theme template to display all your data. You will do this through the theme editor. Setting up a simple template should only take a couple of minutes. Once that is done every new active Metaobject will also act as a webpage your users can visit. Make sure to include call-to-action buttons and reference products on these pages as that will lead to more sales.
## Next steps
We hope we helped you out in your journey to make your store better. If you want you can read more about:
* [Managing Metaobject definitions using Accentuate](/metaobjects/metaobject-definitions.md)
* [Importing/exporting Metaobject values/instances](/bulk-import-and-export/metaobject-export-import.md)
* [Learning more about Metaobjects](/metaobjects/what-are-metaobjects.md)